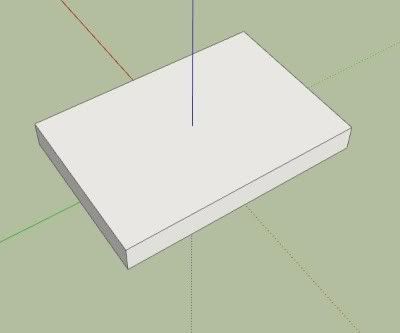
With ApocalypseSurvivor's ( AS ) permission here is the latest version of MeshOut! 0.4 Never forget to thank those that help you along the way as they have done much to make this possible for you, Especially ApocalypseSurvivor, if it wasn't for him exporting to IMVU did take FAR longer This tutorial was made with using SketchUp v7.0 - Making a simple item ready to export After installing MeshOut (Read the Read Me if need need instructions) open SketchUp and make a simple box and then make it 3D essentially making a door mat. This will do as a simple example, larger objects export in the same way.
 Texturing
Ok adding colour! Click the Paint Bucket tool and pick a texture (not a block colour) from the floating Materials box that appears and paint the top and then pick another texture to paint the rest.
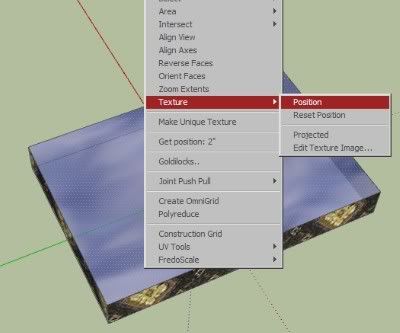
Pinning! Now to adjust a texture we can right click the texture and highlight Texture and then click Position as shown in the below image. (I have many extra's installed so my right click menu will look different to yours)

Now you may need to zoom out to see your applied texture fully. You should see your texture tiled all over with 4 pins, they Should be at the 4 edges of 1 tile of your texture. The red one moves the entire texture, the green one scales the texture making it all bigger or smaller and the blue one stretches your texture up and down from the red pin, the yellow pin warps the texture, stay away from this pin unless we need to straiten up the texture to make it square / rectangle again as it will not export correctly. These can be moved about if needed by single clicking them and putting them back but we shouldn't need to do that right now.
Ok now drag the red pin to 1 corner of your door mat so it moves the entire texture. Now drag the green pin to another corner opposite it. Now finally drag the blue pin to the other corner opposite the red and this should now have stretched your chosen texture to the 4 corners of your mat! Exporting Time!
Ok now save your mesh and give it a nice simple name you will remember, its a good idea to save it in its own folder as what happens next will make lots of other files and its a good idea to keep them all separate from other things as not to loose them.
Allright now we find out if you followed the instructions in the readme correct to install MeshOut.
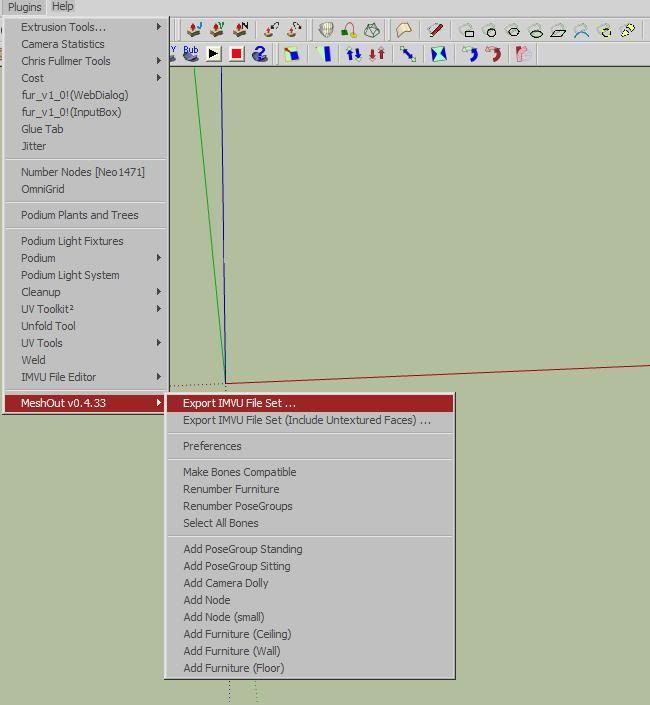
Now click Plugins --> MeshOut v0.4.33 --> Export IMVU File Set...
This will bring up a box named Export skeleton to IMVU as, Just click save as

It will now freeze a moment, on larger mesh's this will be noticeable.
You will now see a popup box that reads Export Complete and at the bottom left of your screen it will give a little info, such as time taken and the number of polygons your mesh use's. Create Mode!
Finally! time to load up Create Mode as the exporting should be done!
After loading Create Mode you will want to derive from a new Furniture (floor) product
This should now load up an IMVU chair, for wall products, accessory's, rooms ect you will need to derive from different products in that list.
Now where in the Mesh's Tab click Add .XMF (button at the top of the green bit). Browse to the location you saved your mesh to and load your mesh in.
Next we need to add our textures 1 by 1, below is a list of materials within the purple section on the left and on the right is the info about that material, the first 3 textures will be populated by those from the IMVU chair so we need to change them to ours. For each click on the left side on the meterials starting at 0 and working your way down the list each time editing the texture in the texture assets part to put in your own textures ensuring Vertex Shading is NOT TICKED.
Keep in mind create mode compresses your file but if you use lots of big images for textures its a waist and you will go over the 2mb limmit, for optimised texture sizes check out the hints and tips section.
Next up where going to add the .XSF file. This file contains all the info about the nodes we added earlier, so all your standing/sitting positions are in this file and later if you build rooms all your floor nodes and things will be within this file. To add it click the Config tab at the top and the first bit Skeleton variables click Add .XSF and add in the file MeshOut exported.
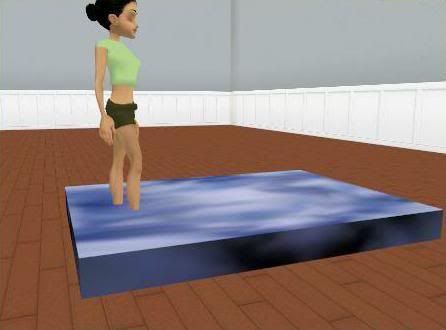
To view the changes you have done (you can do this at any time) just click apply changes (big yellow butten at the top)
Once done click Apply Changes and then save (saving mid way thru while working helps encase IMVU crash's) then clicking upload as per usual (if you need help with anything Create Mode related the IMVU create centre has LOADS of help with it.)
 -Happy to accept gifts of what you made to Neo1471 if you found this helpful ^_^ | 
